How to Resize an Image Online Without Stretching
Set a new width or height in pixels with Keep aspect ratio enabled. Learn how to resize a photo in EditPic and handle exact dimensions or file size limits.
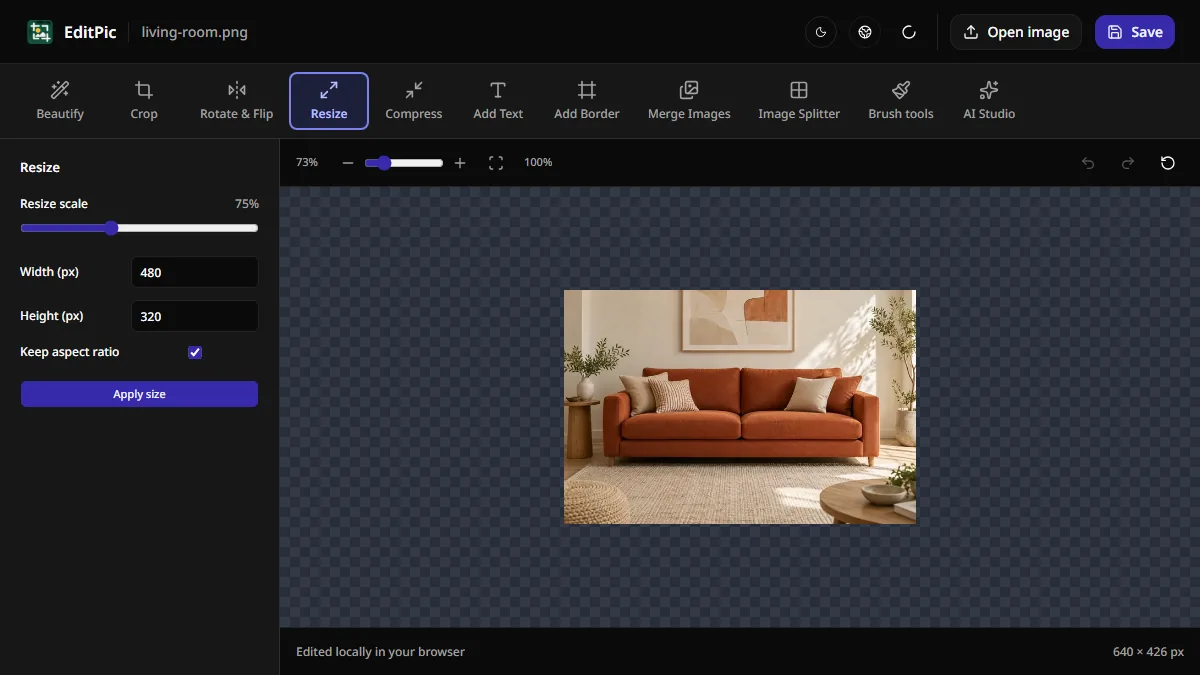
To resize an image without stretching it, open Resize in EditPic and leave Keep aspect ratio enabled. Enter a new width or height in pixels and EditPic calculates the other value. Select Apply size, then Save to download the resized image. The resize runs in your browser and works without an account.
How to resize an image by width or height
- Open the Resize tool, then use Open image to load a photo or graphic.
- Select Resize and check Keep aspect ratio. On mobile, look for the linked dimensions control.
- Enter the required number in Width (px) or Height (px). Check the other field before applying the change. If you only need to make the whole image larger or smaller by a percentage, use the Resize scale slider.
- Click Apply size and review the dimensions in the editor. Click Save and check the downloaded file against the upload requirements.
In the screenshot, we set the width of a 640 × 426 px living-room photo to 480 px. EditPic rounded the proportional height to 320 px, and the downloaded file measured 480 × 320 px. The sofa and the rest of the room stayed in the frame.
How to resize to exact dimensions such as 1080 × 1080
First compare the shape of your original with the requested size. A 2400 × 2400 px photo is already square, so setting the width to 1080 px with Keep aspect ratio on also sets the height to 1080 px. A 2400 × 1600 px photo scaled the same way becomes 1080 × 720 px.
If the photo and the target have different proportions, use the option that fits the image:
- Crop and resize when the photo must fill the frame. For a square, crop to 1:1, apply the crop, then resize to the target width with the ratio locked. For 1920 × 1080 px, use the 16:9 crop preset before resizing. Check both fields since the editor rounds to whole pixels. See how to choose and position a crop.
- Leave room around the photo when every part needs to stay visible. Scale proportionally to fit within the target dimensions, then place the photo on a canvas of the required size. With the 2400 × 1600 px example, a centered 1080 × 720 px photo on a 1080 × 1080 px canvas leaves 180 px of space above and below.
- Set width and height independently when the change in shape is intentional. Turn off Keep aspect ratio and enter both values. A square export from a wide image will look taller and narrower relative to the original, which is usually noticeable on faces, logos, and circles.
What if the upload limit is in KB or MB?
A width and height specify the number of pixels. A limit such as 500 KB specifies how much storage the exported file can use. Reducing the dimensions often lowers the file size, and the format, quality settings, and image detail affect the result too.
If the form sets both requirements, get the pixel dimensions right first. Then open Compress in the same workspace and choose a format it accepts. For example, if the form accepts JPEG and you are working with a photo, adjust the JPEG quality and check the resulting file size before downloading. Check small labels and other fine details in the final file before uploading it.
Check whether the form specifies an exact size or a maximum size. A 1200 px maximum width lets you leave an 800 px wide image at its current size. An exact 1200 px requirement calls for an image that is 1200 px wide after export.
Does making an image bigger improve quality?
An image resizer adds pixels when you enlarge a photo. The result may look soft because those pixels are calculated from the existing image. Start from a larger original when you have one. For small text and interface screenshots, check the resized image at its final display size so you can catch labels that have become hard to read.
If you already know the width or height you need, open the EditPic Resize tool, enter that number, and check the calculated dimension before saving.
More Posts
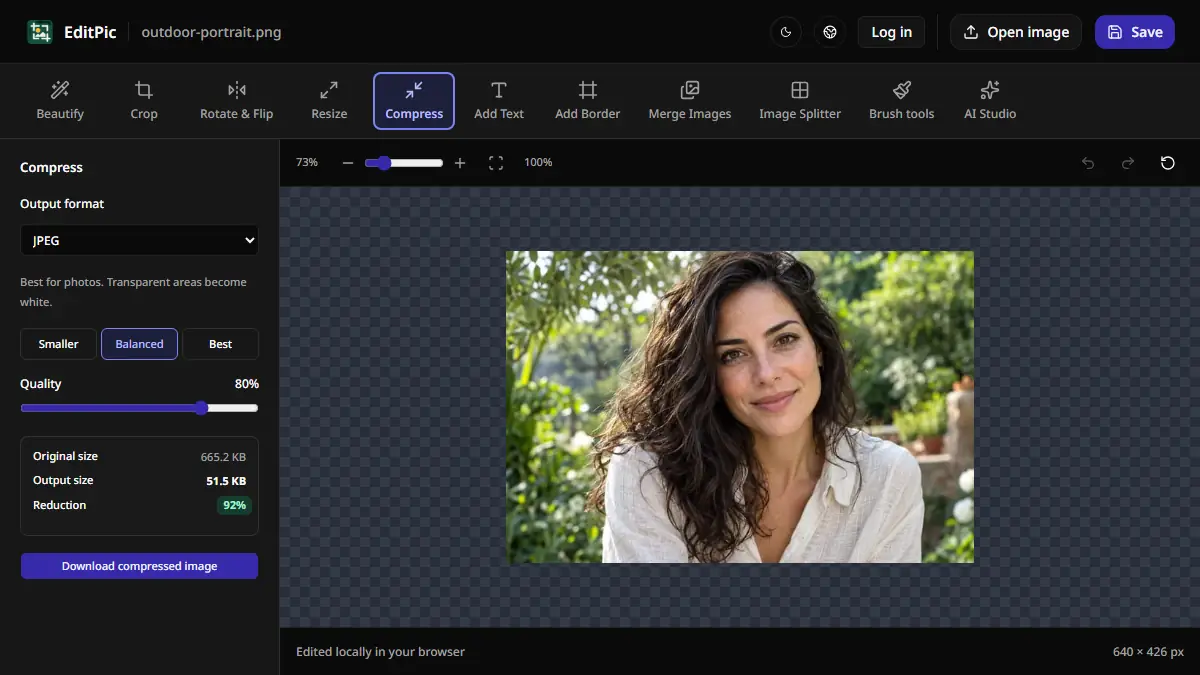
How to Compress an Image Online Without Resizing It
Reduce a photo’s file size in EditPic while keeping its pixel dimensions. Compare JPEG, WebP, and PNG and check the result against an upload limit.

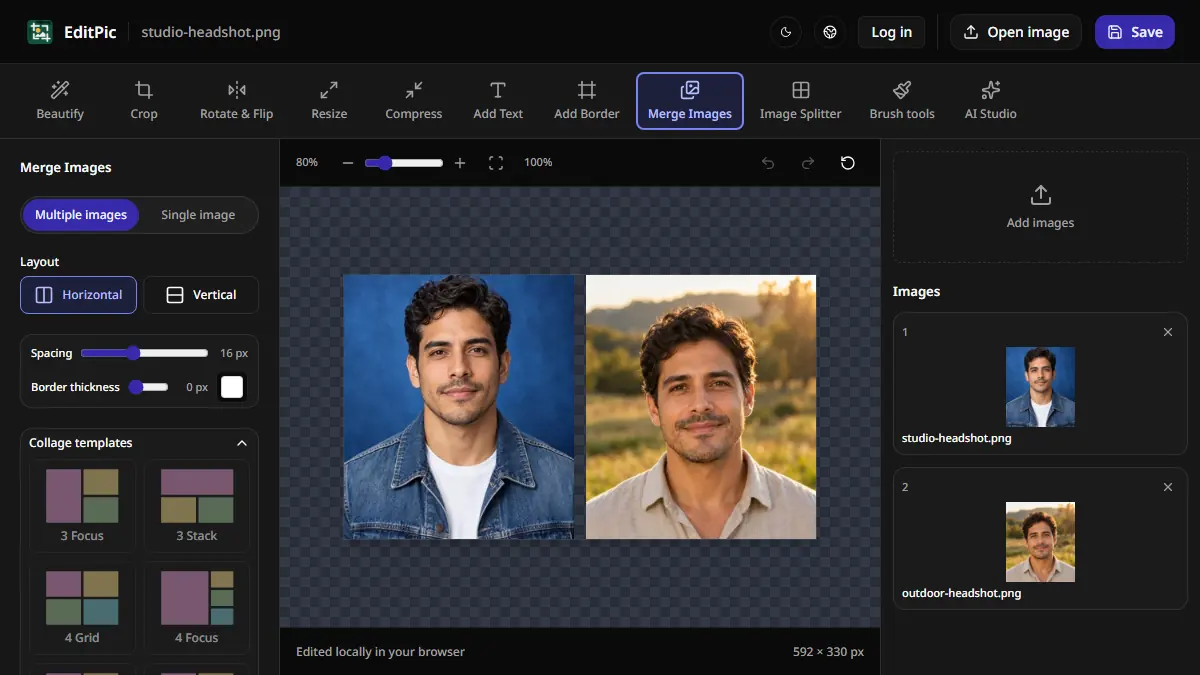
How to Combine Two Photos Side by Side Online
Put two pictures side by side in EditPic, control the gap and borders, and save a single image. See how to stack photos or make a larger collage.
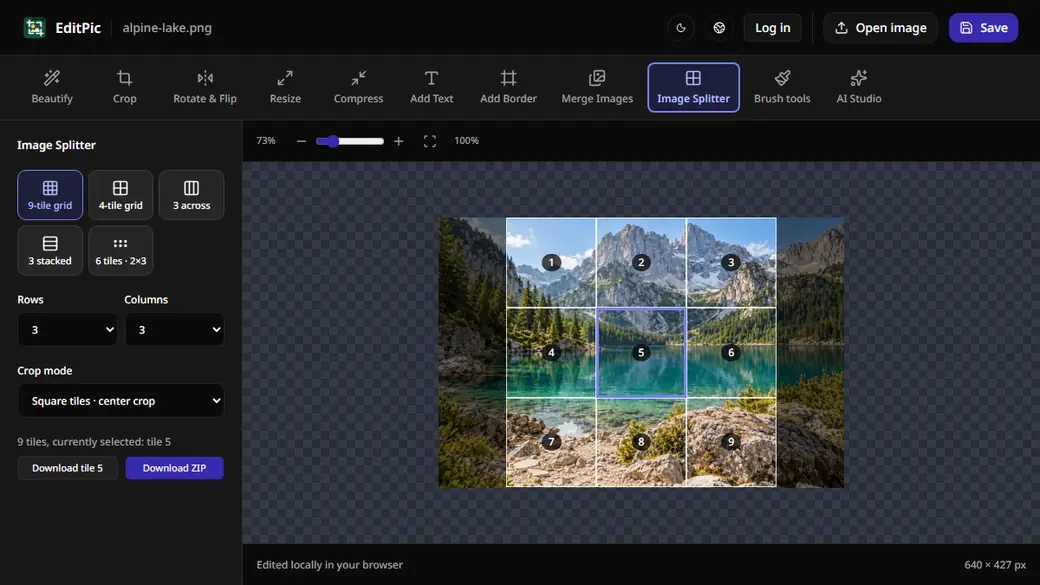
How to Split an Image Into Equal Parts Online
Split an image into a 3×3 grid, strips, or custom rows and columns in EditPic. Download one PNG tile or export every tile in a ZIP file.